
The John Muir Way
Part 7
Falkirk to CROY
May 21 2018
On the Way again….
The parking at Callendar House was free and convenient and we took advantage accordingly. The cast remained the same from the previous section: Neil and Mo, Carol and me.
Callendar House holds the Falkirk Archives, a precious resource which is open sometimes, and sometimes a useful resource particularly its collection of old photies. The question of copyright is a little daunting at times though.
The Way leads past the kiosk, children’s playground and crazy golf and passes close to the Falkirk 1298 memorial, a little to the right: divert from the main path at the Y-junction before the bridge. From the pathway if you head to the leftmost block of flats you’ll come across it. The memorial was unveiled in July 2007 “on the 709th anniversary of the Battle of Falkirk”. Let’s face it, not many places or anniversaries commemorate a 709th anniversary.

I’m not sure what the status of the poem is on the memorial; a footnote, given its position possibly?
It clearly belongs to a particular strand of Scots poetry
The memorial has two parts: the upper refers to the Burns poem and honours the men and fought and died at the battle.
“They came to the ring and danced their best” references Wallace before the battle who is quoted variously as saying

“I have brought you to the ring, now dance if you can!”
or
“I hae brocht ye to the ring, now see gif ye can dance”
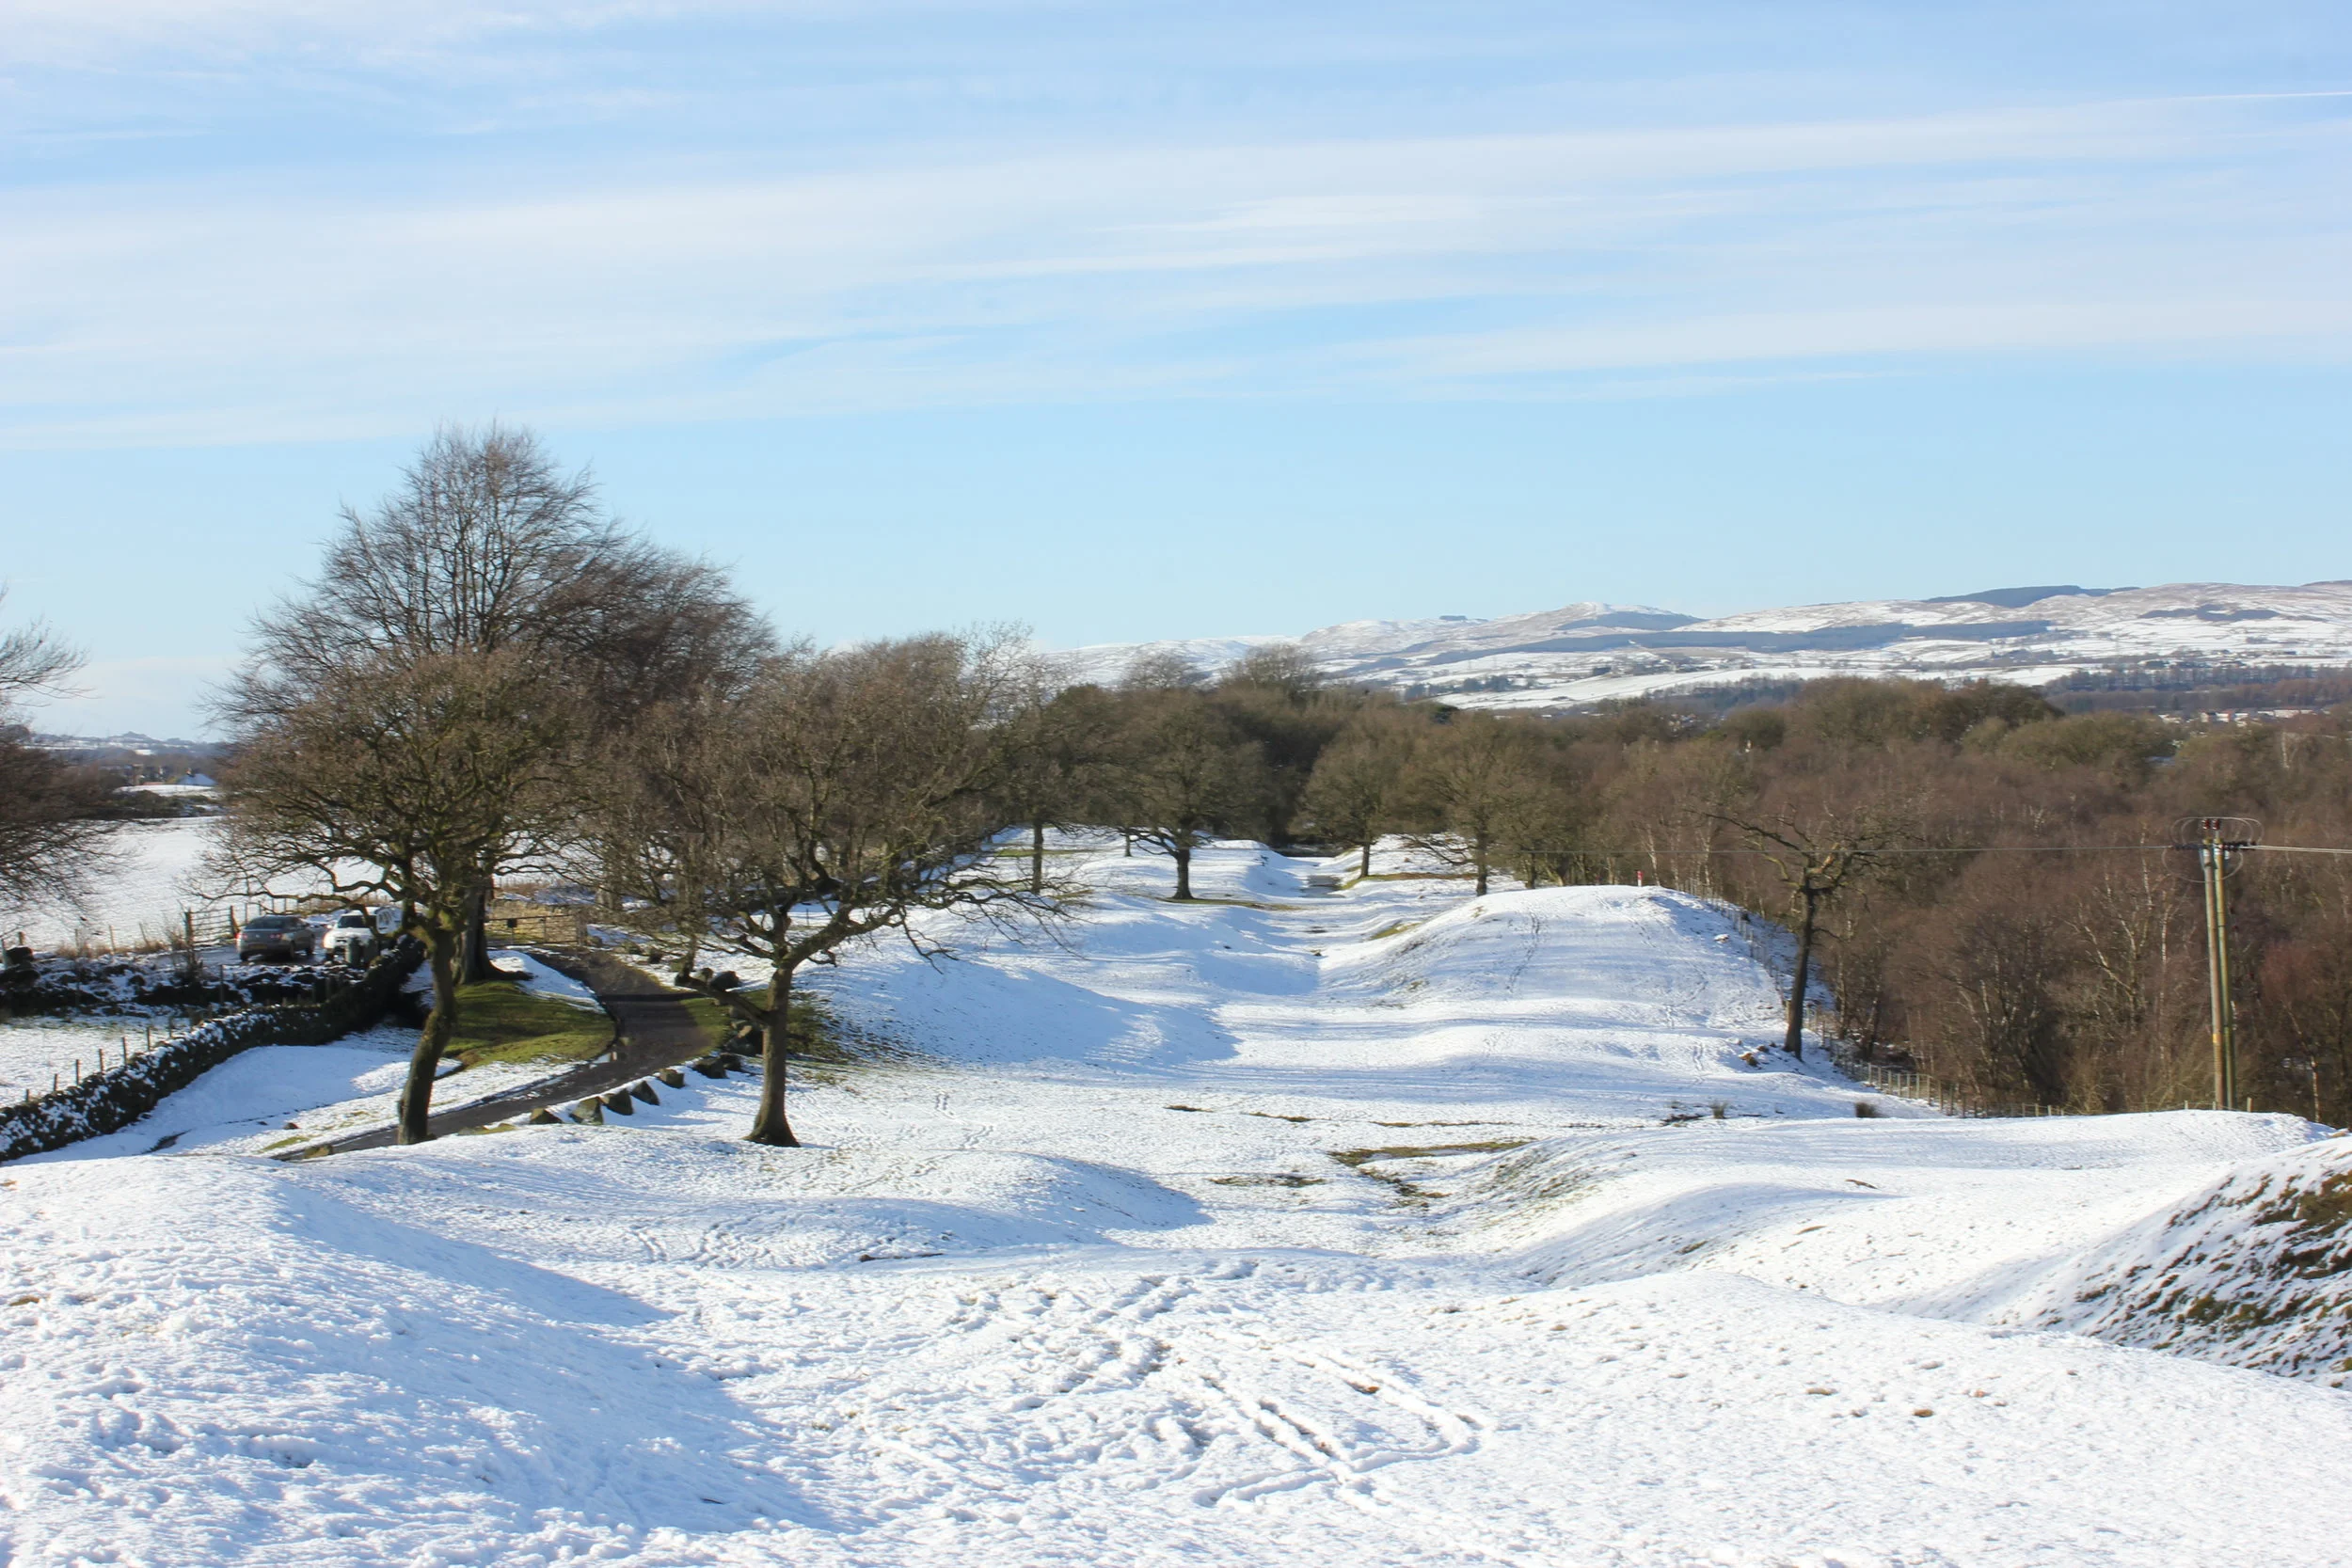
Looking across the Brae - the Lodge, callendar Park
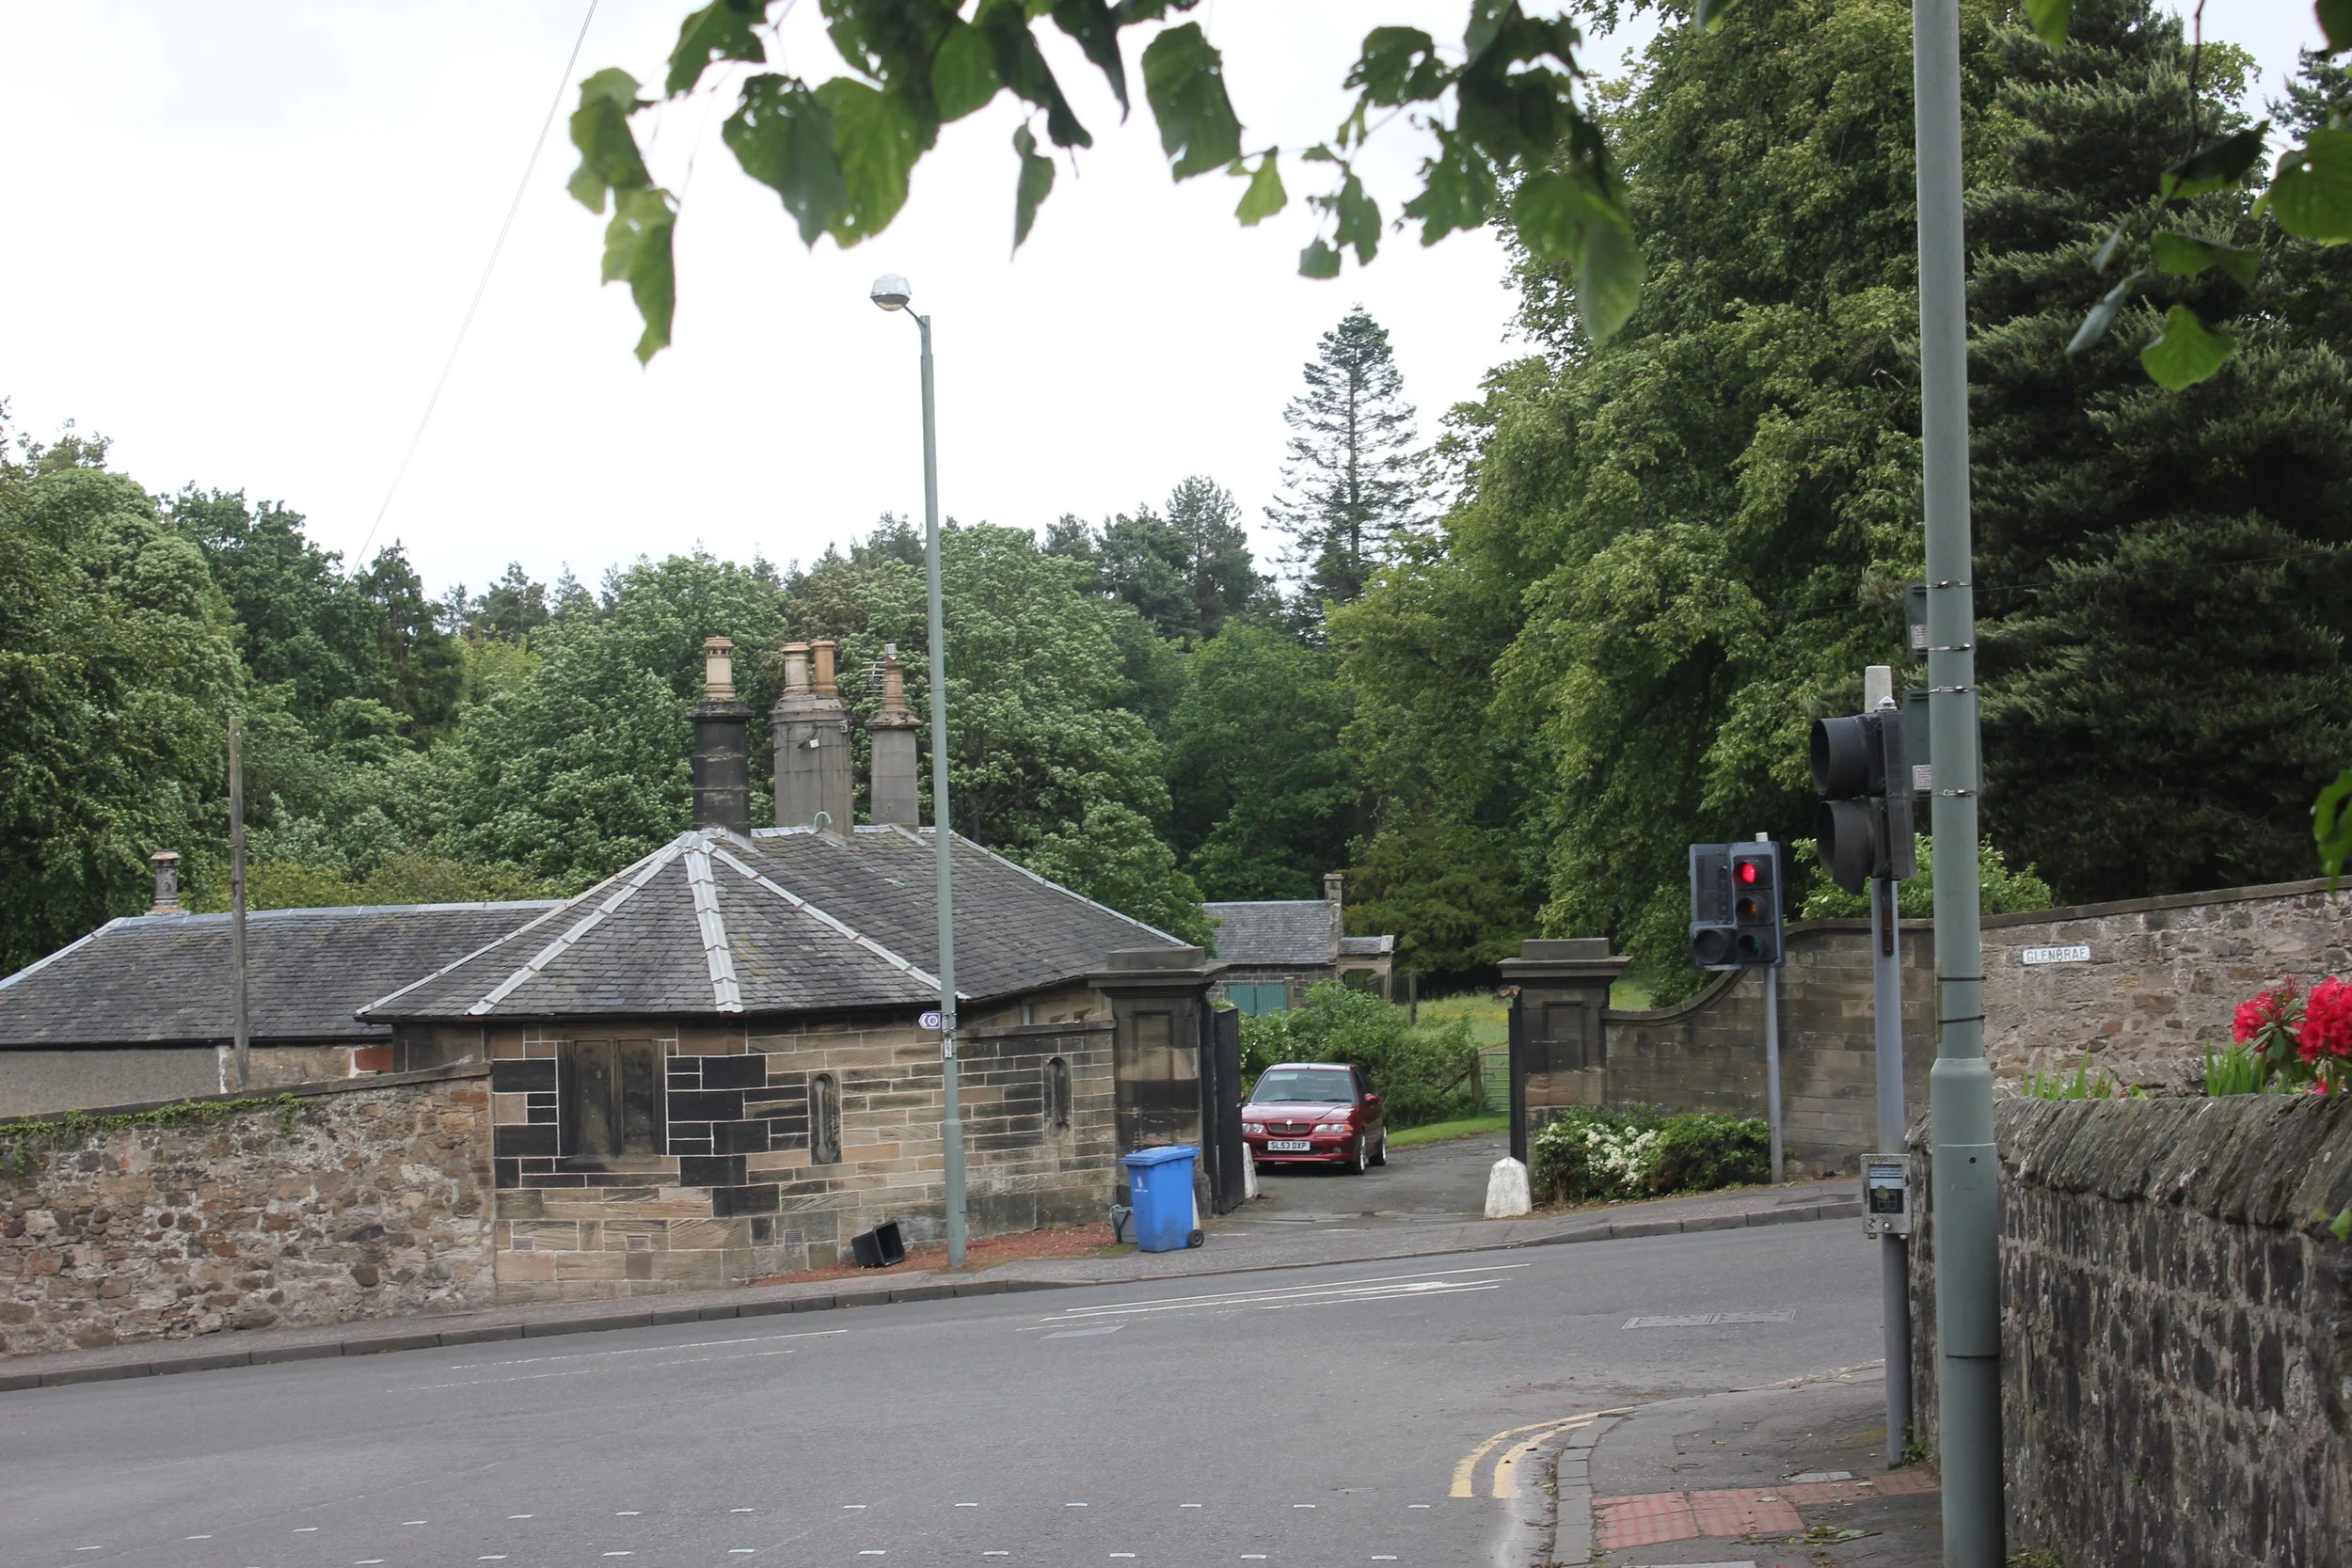
With the memorial to the right heading west, we also walk parallel to the route of the Antonine Wall which borders the main road to the north and can be readily seen at callendar house itself. However, as prescribed by The Way, we walked out of the Park and along Kemper Avenue (no, I don’t know where, what or why Kemper is. I guess that’s a case of losing your Kemper). It is possible to sneak into the paths in the park, which is fine. Paths there take you up to the lodge and the footpath round the edge does too.
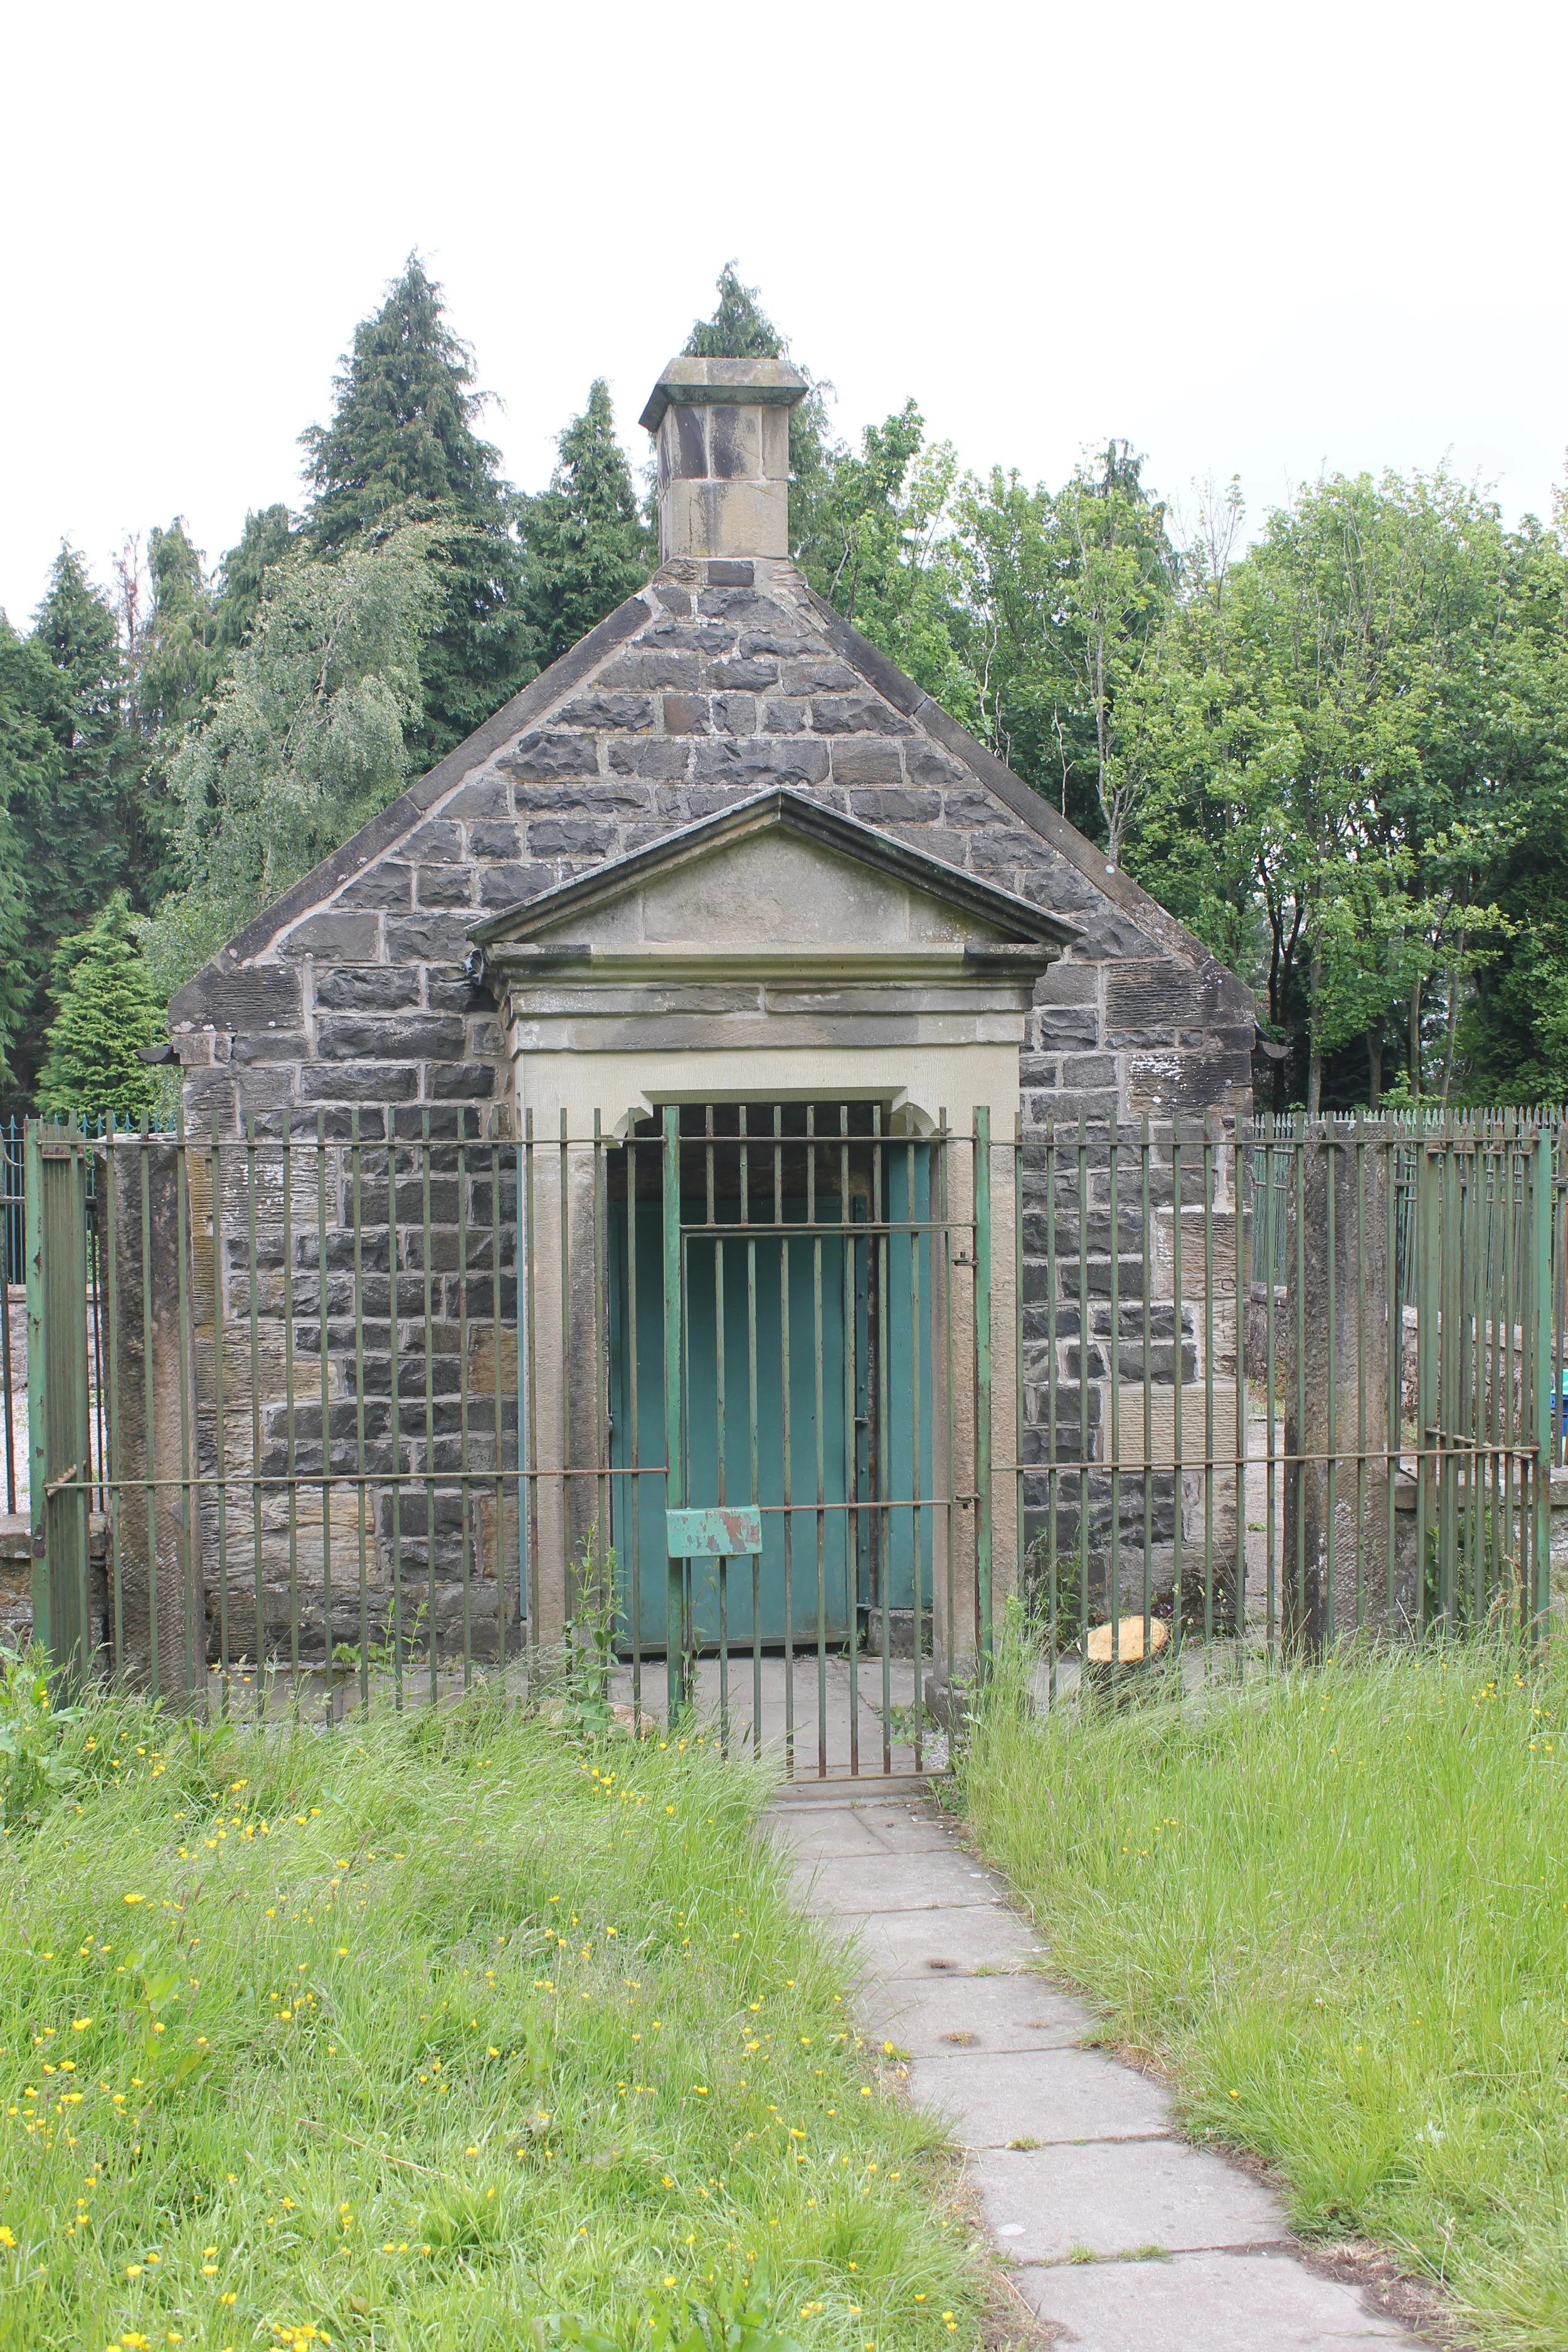
The building to the right here is beyond the lodge on the left hand side. It is a one storey, centrally heated building not currently used for its original purpose. It is in itself a social comment.
Canmore fails to be more forthcoming, but as it happened I had spoken to a Forestry Commission man with a van who was happy to tell me its original purpose.

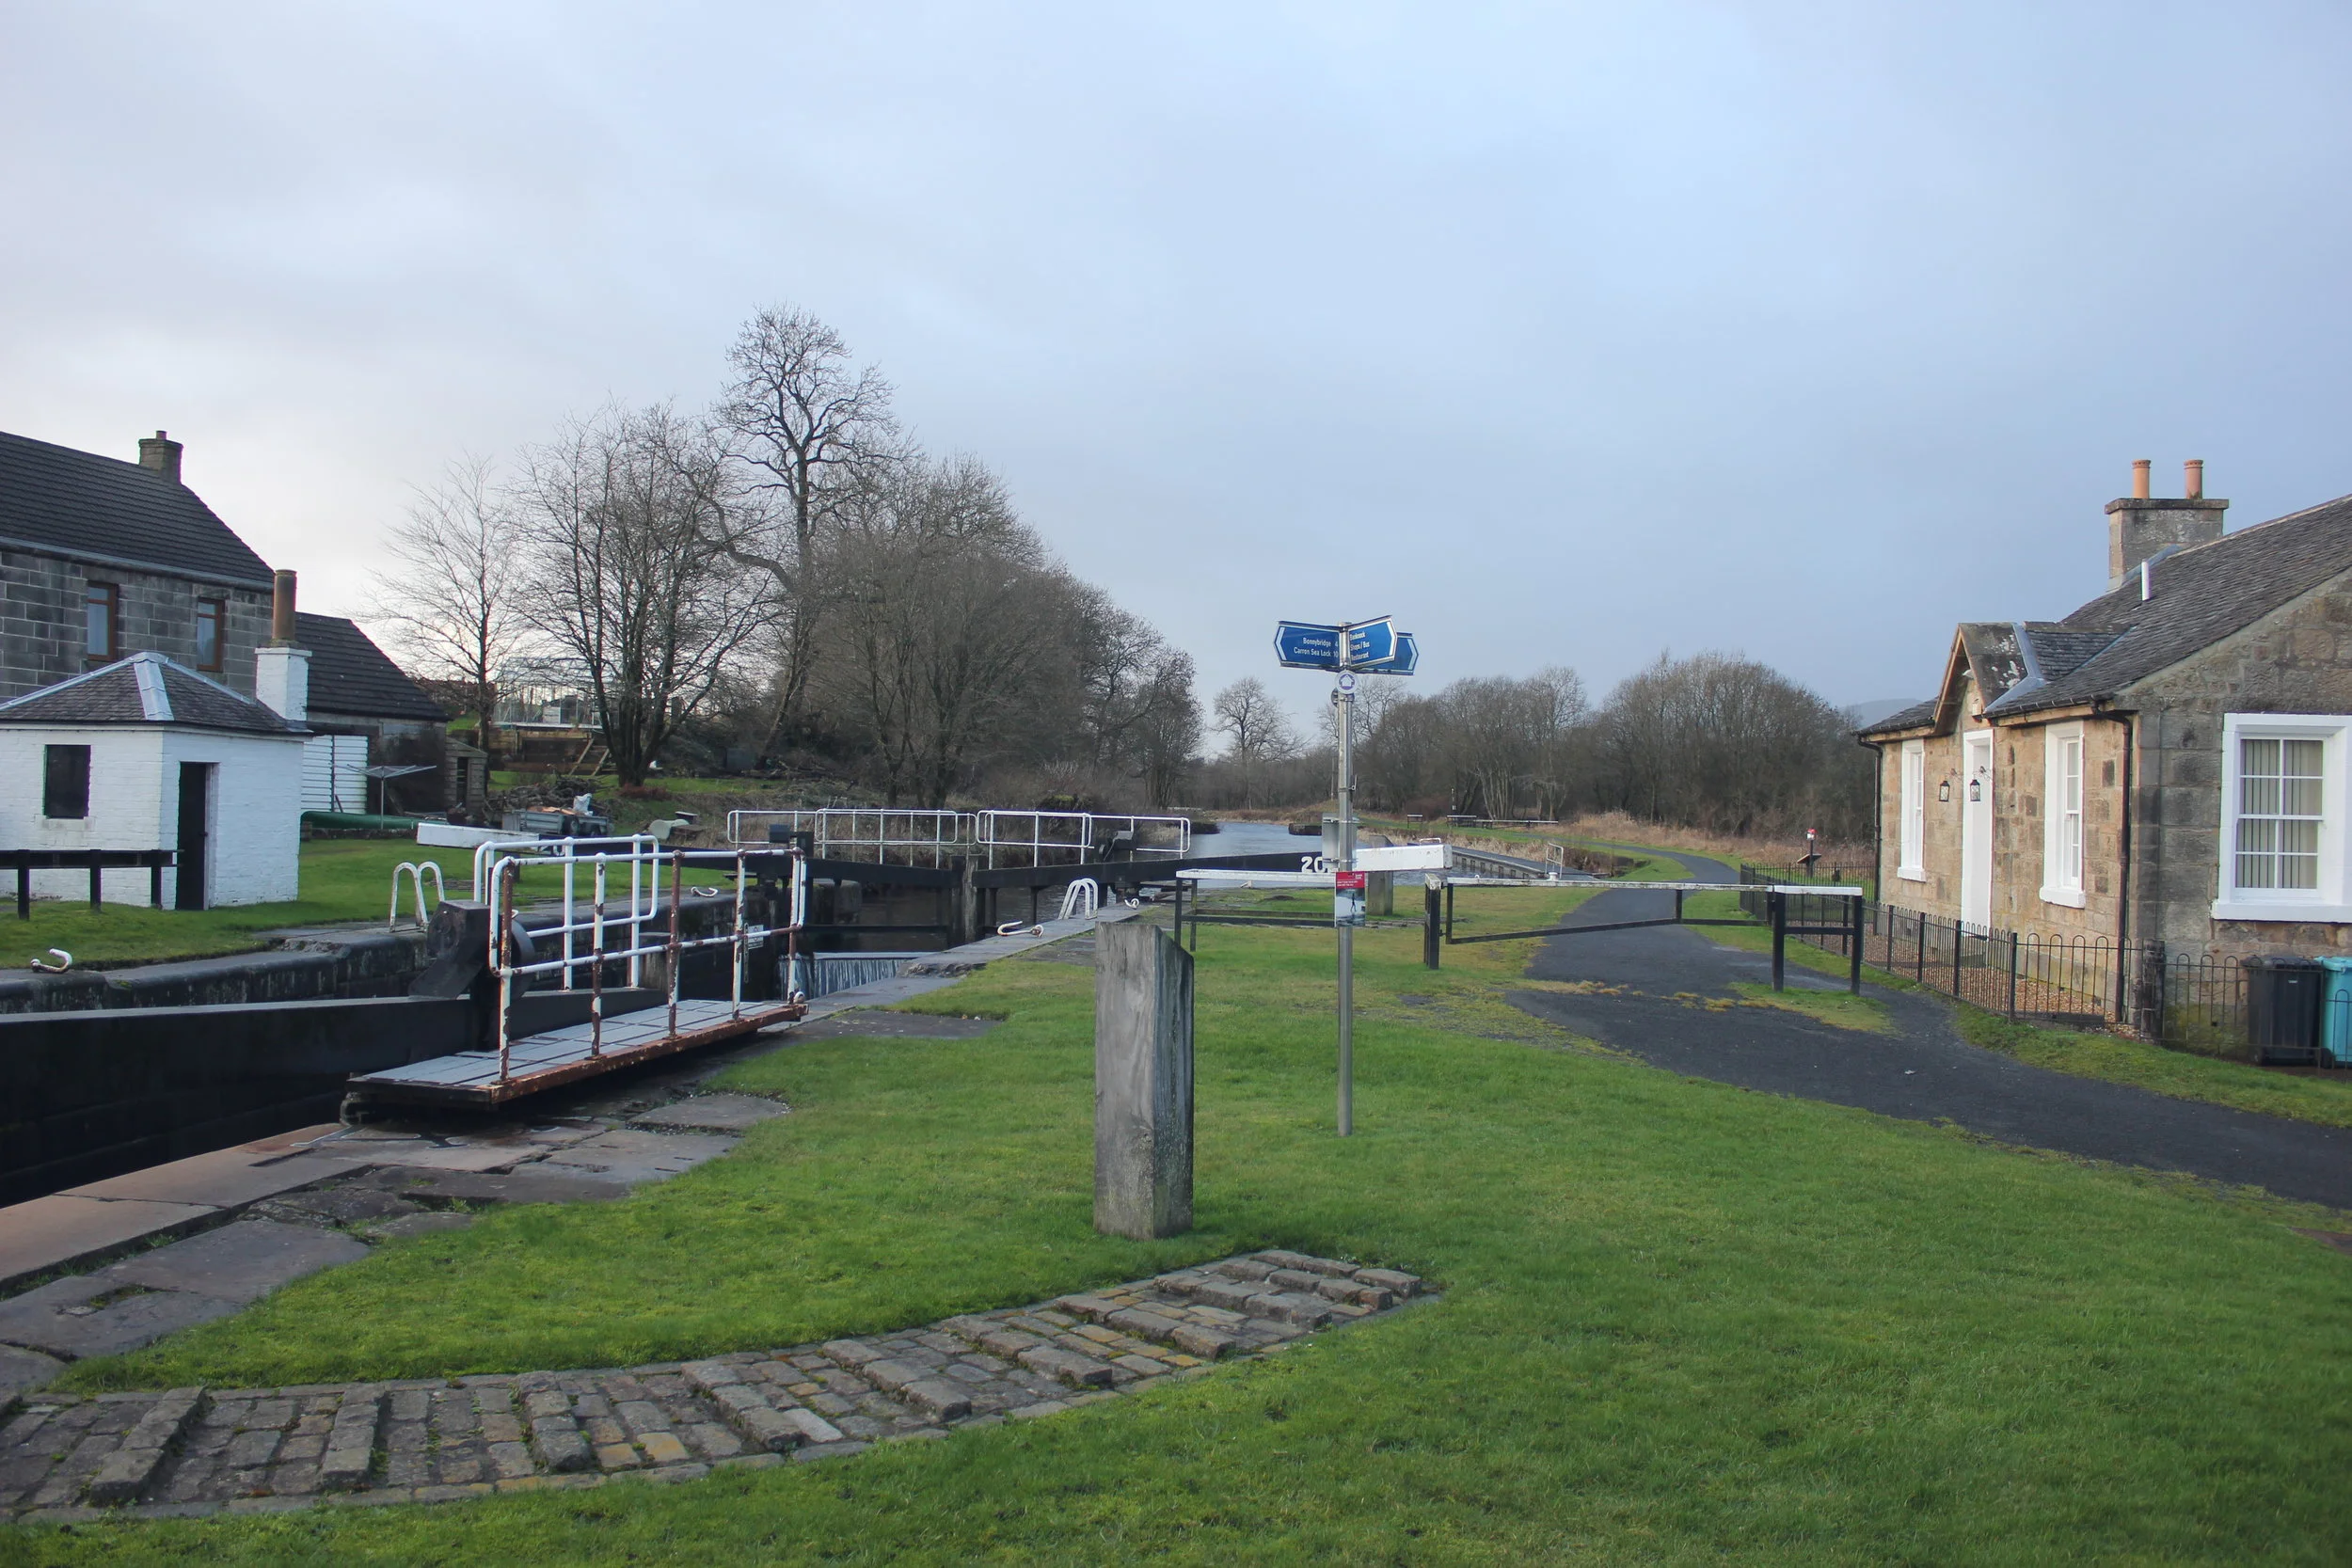
The route crosses the road at the Glenbrae/Slammanan junction with a shimmie onto the north side of the Slamannan Road. The after a hundered metres or so the path offers a diversion down steps to the right (care in icy conditions) which leads you to the tradesperson’s way into the station where the tunnel exits from the east.

The Way takes you over or under the railway, all JMW signs leading you to the canal just after the tunnel

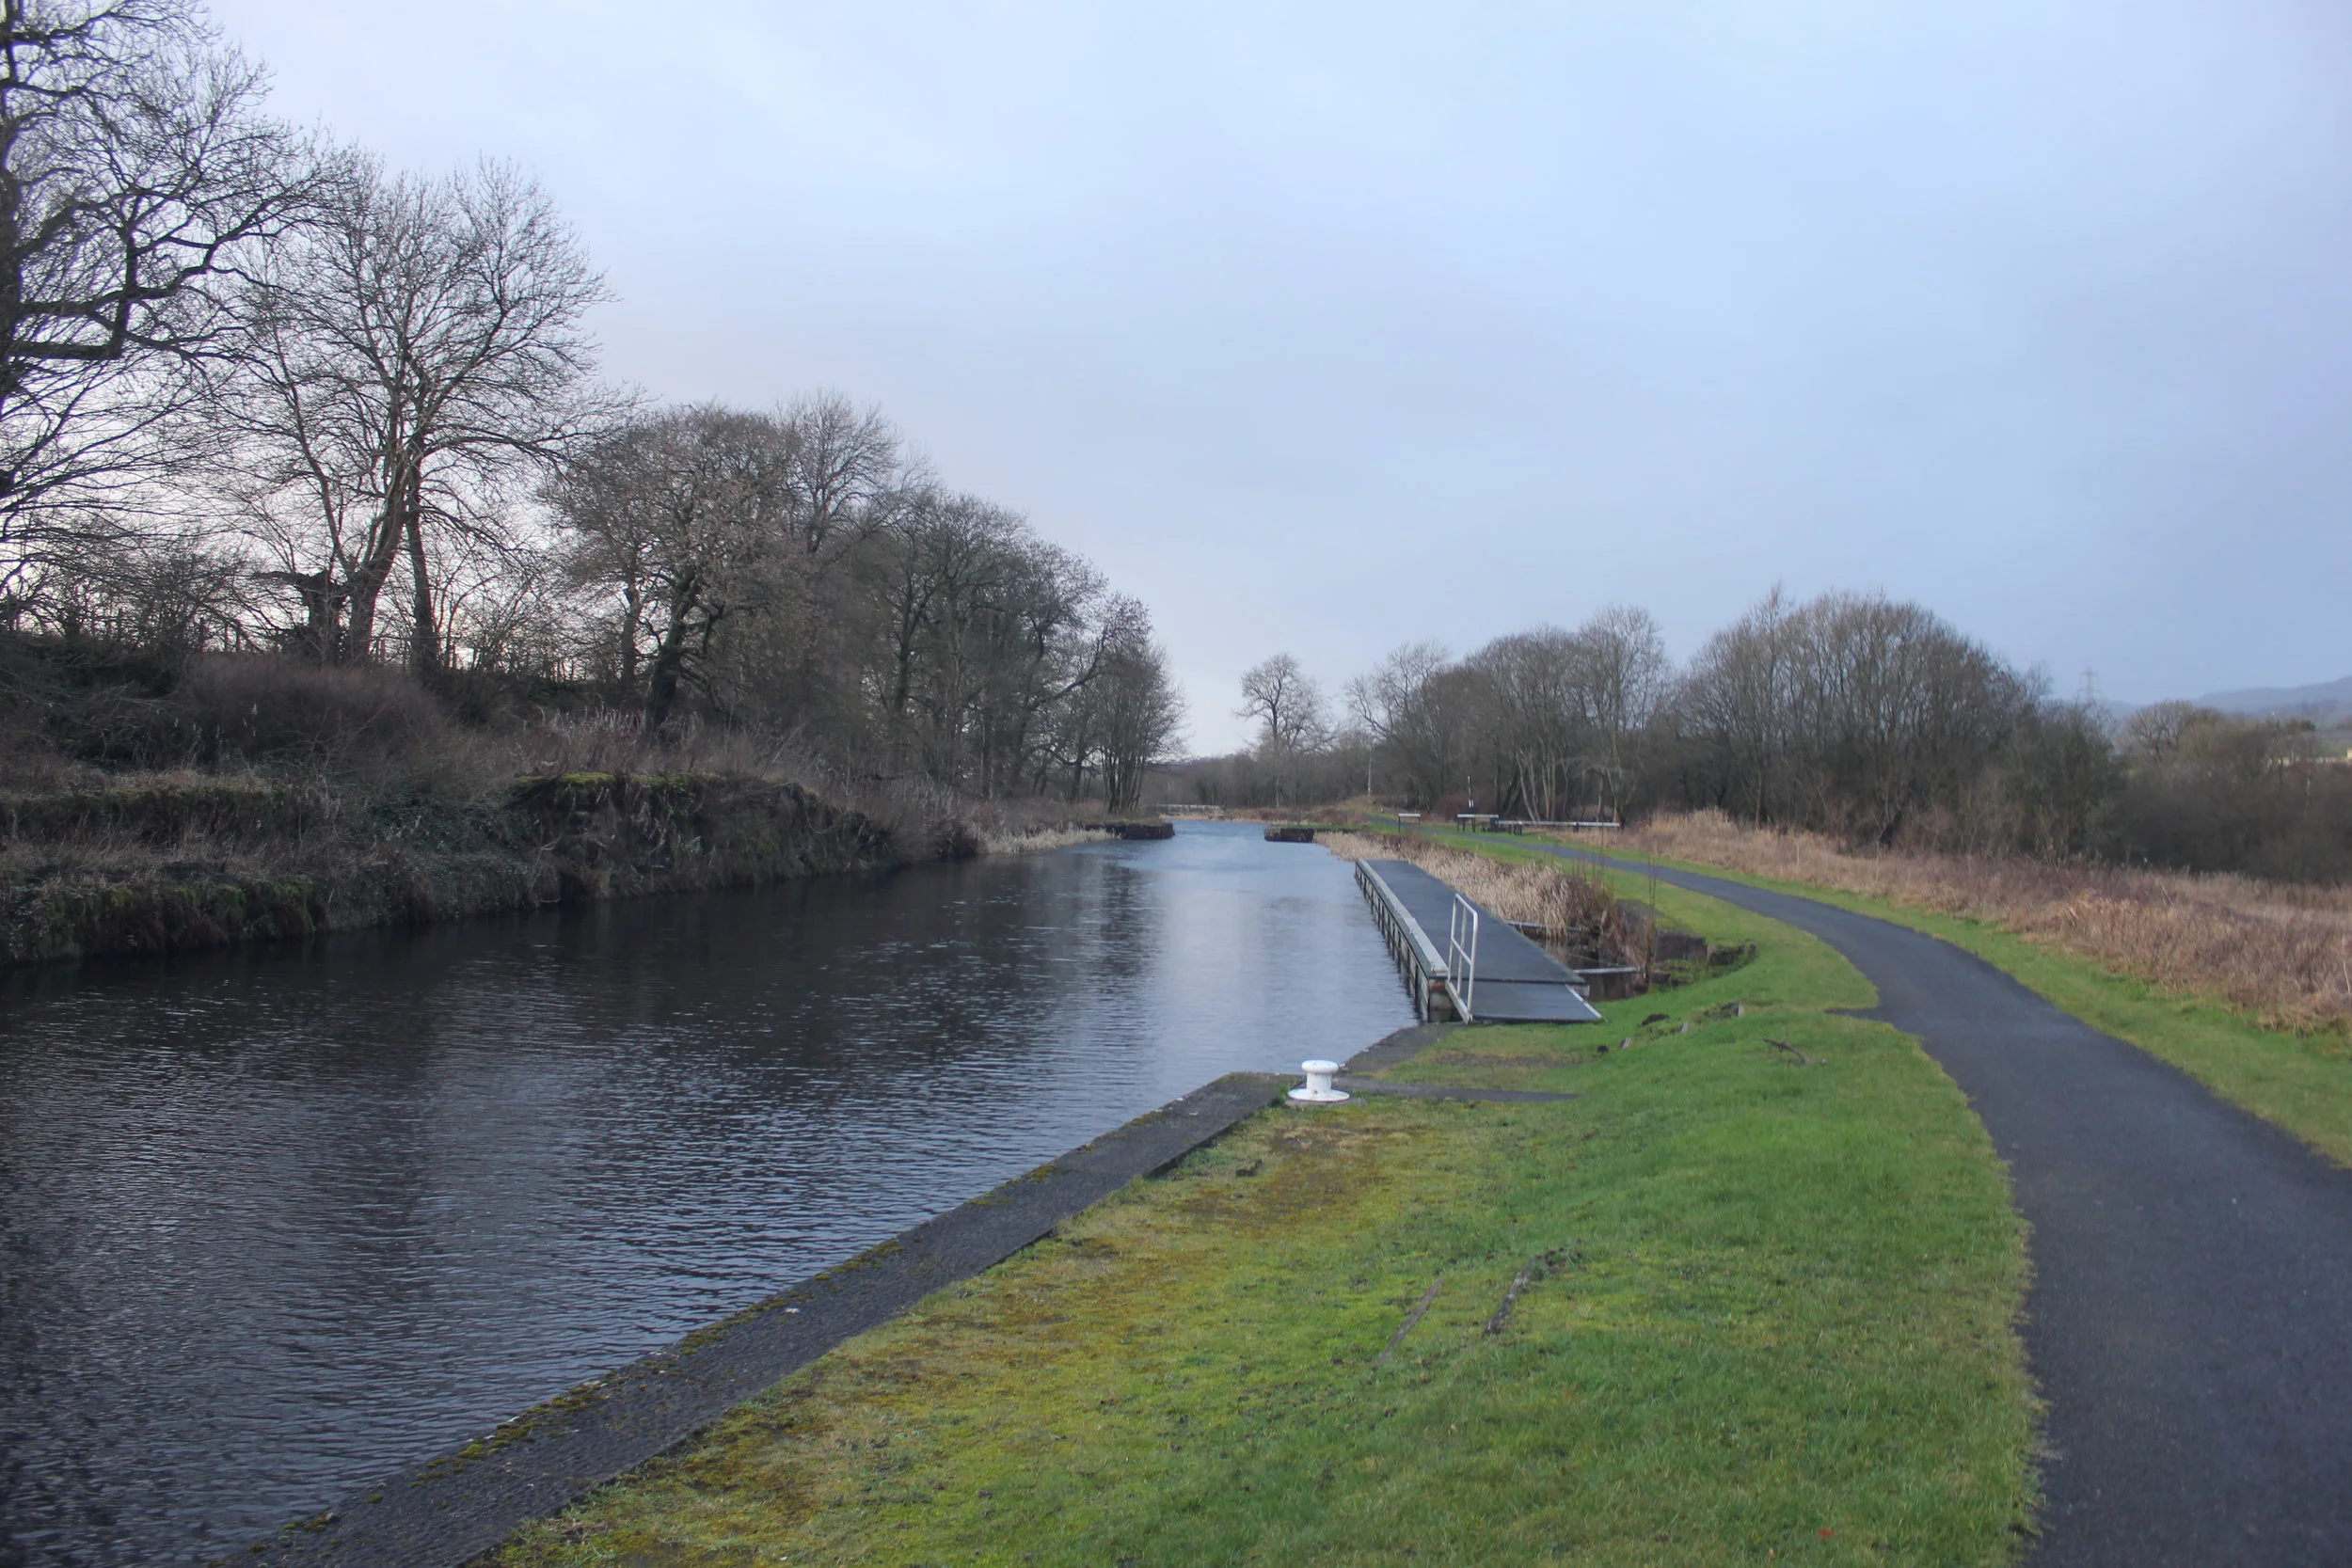
Union Canal tunnel end looking west
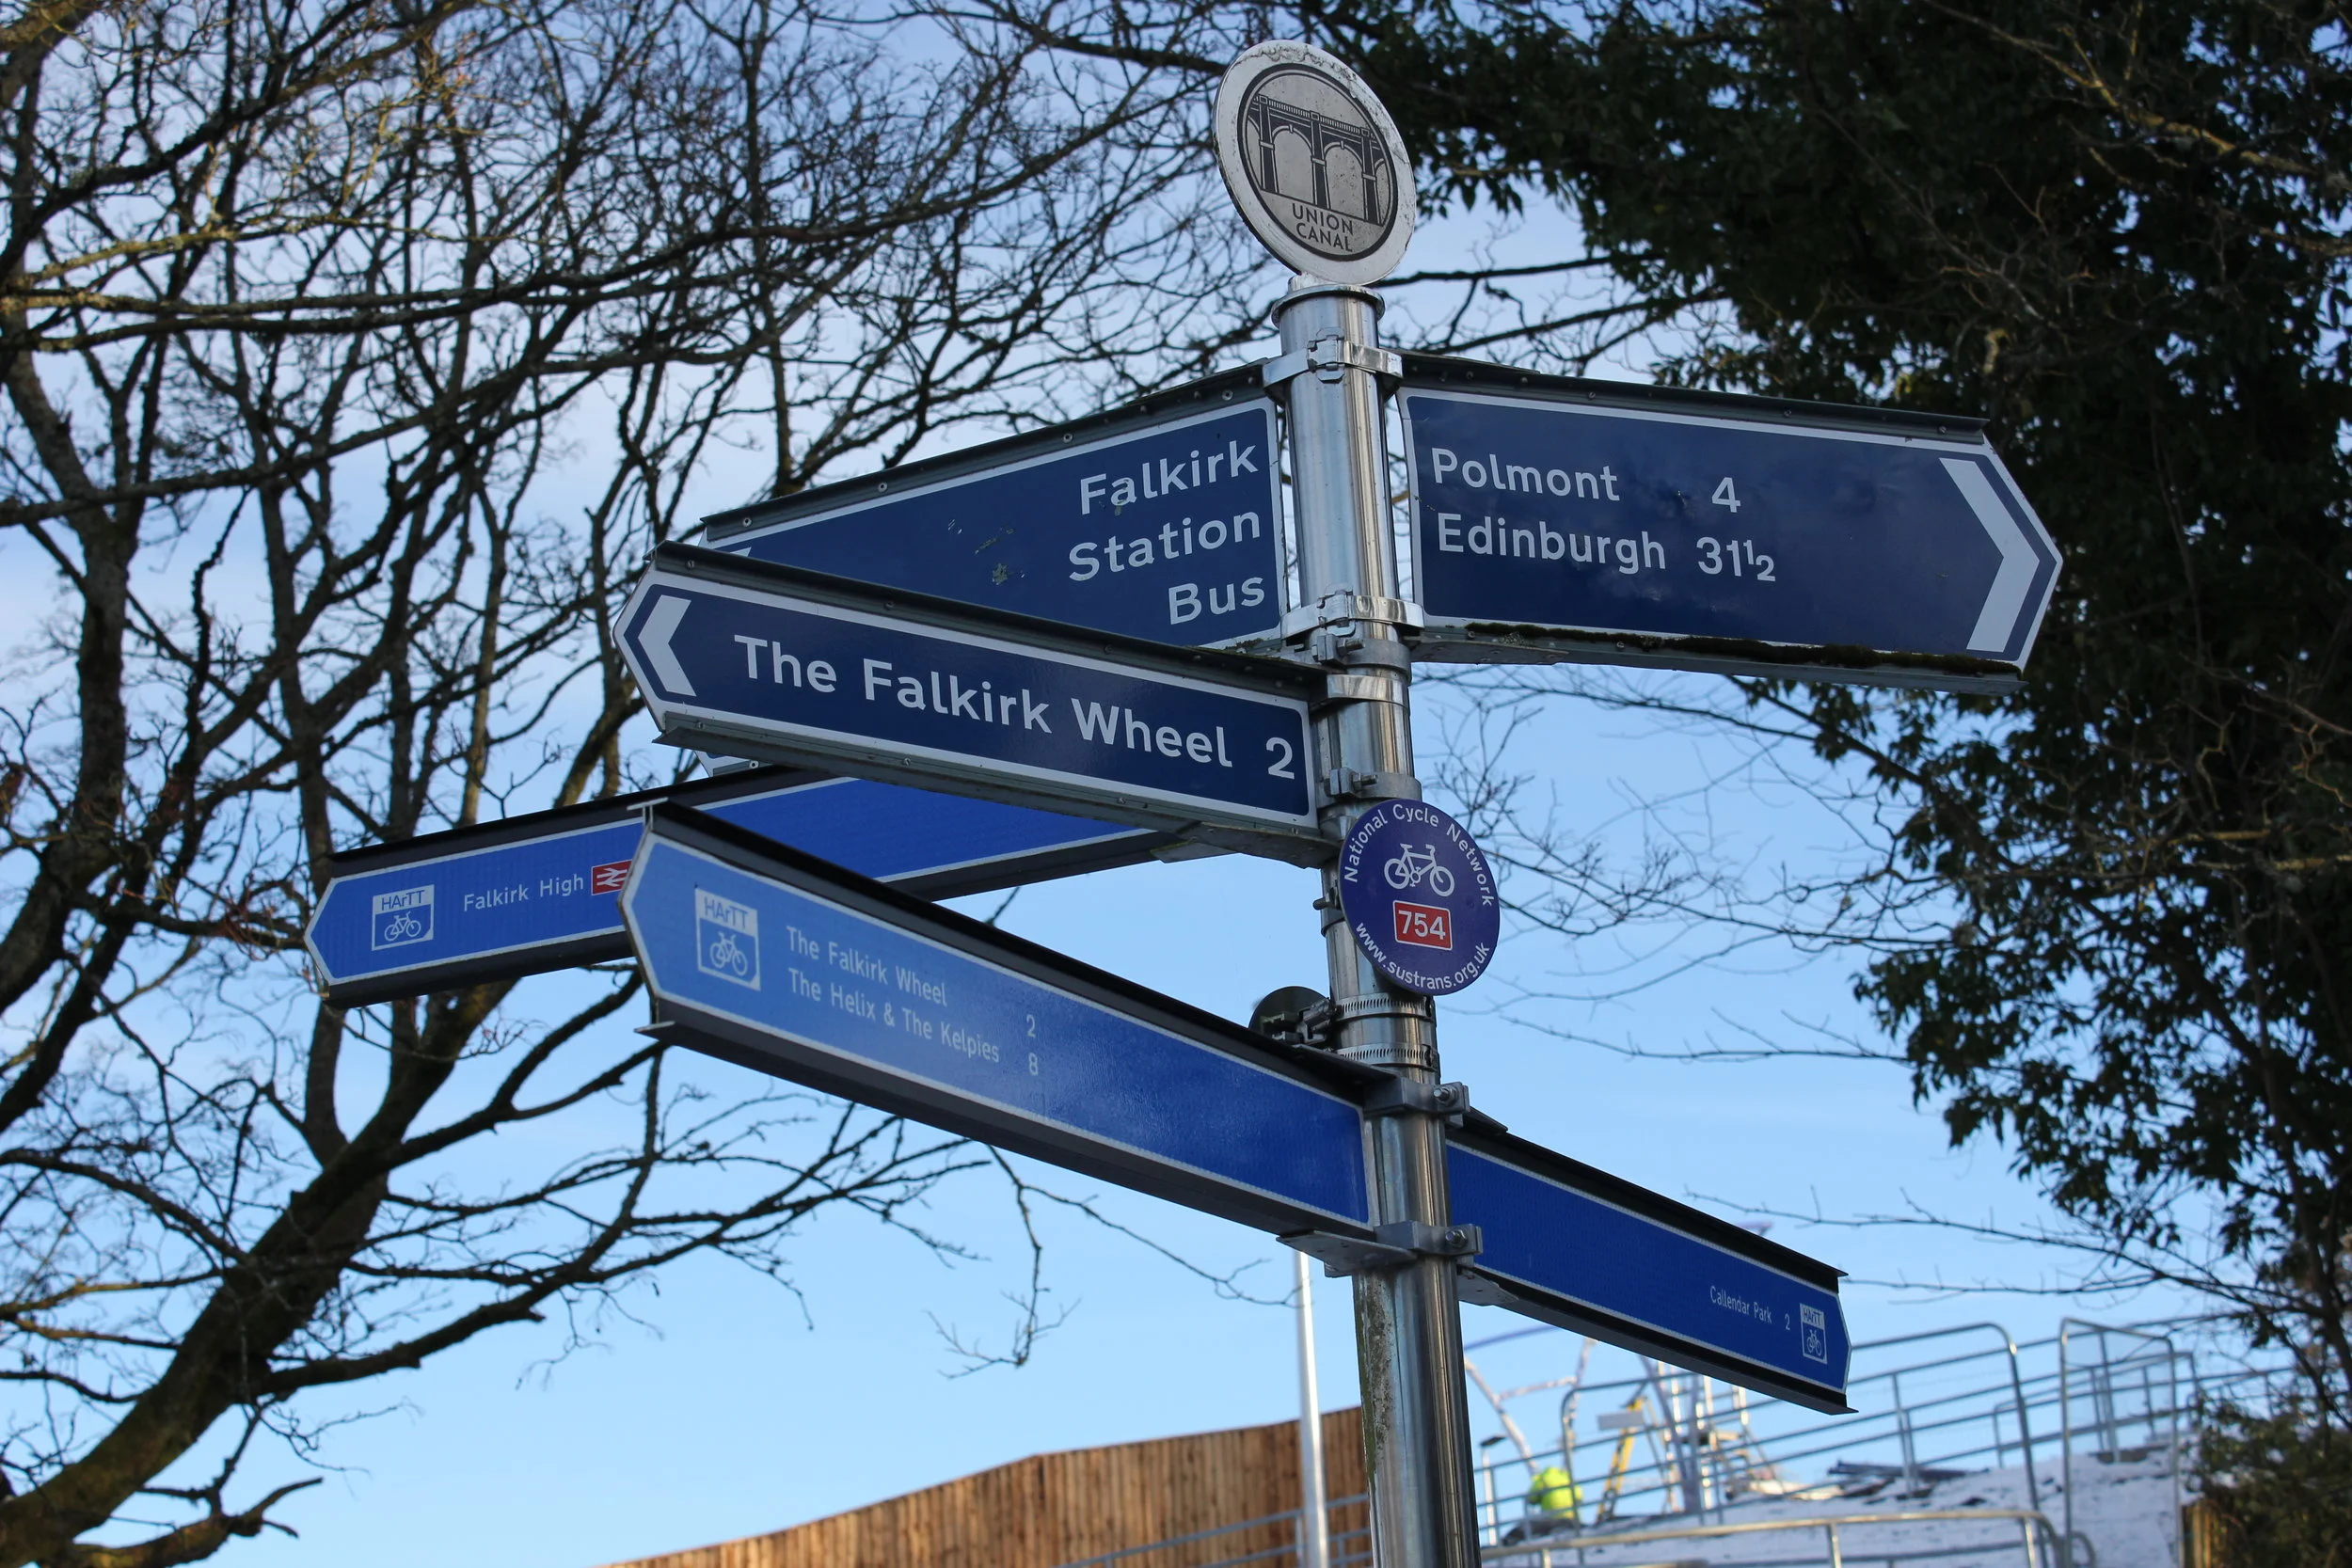
Sign post at Falkirk High Station

Looking back to the High Station, canal tunnel mouth round the bend.
There’s some good views on the right day here, especially as some of the trees that lined the railway tracks have been removed. This makes it easy to see the Ochils to the north across the Forth.
A sign on the path points out that there is a Burke and Hare connection with the Union Canal. I tend to think that is a bit random but not necessarily untrue.

Bridge 62, Bantaskine - looking west
The Way takes you up to the bridge across the canal, cunningly and quaintly named “62”, which itself leads up to what was the South Bantaskine Estate on top of the hill. This was originally moorland used for grazing and fighting.
It was the scene of the 1746 Battle of Falkirk. The button links lead to information about the battle, but the definitive words are probably best arranged in Geoff Bailey’s book “Falkirk or Paradise”, now out of print. Geoff is Falkirk’s Mr History, and Keeper of archaeology and local history for Falkirk.
The Way leads up the hill to where South Bantaskine House stood until the end of the Second World War, eventually becoming a vicitm of the combination of nearly a century of mining and the depredations of Polish Officers billeted in the house during that war. The walk up includes crossing a significant bridge for the drive up to South Bantaskine House (now replaced by a bungalow). The bridge bridges a lined trackway allowing access from mines to the canal bank. It is an Impressive piece of masonary, if reeking somewhat of the avarice and wealth coal owners.
The open area at the top of the drive to what was the house is a picnic area and offers the opportunity, when it isn’t dreich, of classic views across Falkirk and the Forth, the Ochils and Stirling (i the distance, behind the white smoke).
The JMW follows the path up towards the Battle of Falkirk Monument: the path hits the top of the ravine, and heads south to the monmument. It is worth taking a look: the ravine skewed the battle, forcing the protaganists south and mucking up any chance of straight lines. The site has some useful display boards that give a sense of how the battle went.
The Battle itself lasted only some 15 minutes. with about 50 killed on the Jacobite side, and about 300 killed on the Hanoverian side. It was Charlie’s last “victory”.
The site of the battlefield is marked by a monument which often has white cockades laid on it. Very Jacobite. Whatever that means, to whoever makes such a connection.

MAP OF FALKIRK MUIR BATTLEFIELD 1746 MONUMENT
The map above is guaranteed to be incorrect but the ravine definitely upset the pretty lines of soldiers. Other maps are available.
The battle is best understood as two armies of fairly even numbers of soldiers playing “Grand Old Duke of York” (not to be confused with the Duke of Cumberland: far more sinister was he). Once the two armies got to the top, the Hanoverian horse had a run at the Jacobites, got duffed up, ran back and the clansmen pursued. 15 minutes worth of chaos, and neither side quite knew had won although the Clans were left in possession of the battlefield, which generally means that side wins. The fact that many of the highlanders appeared to be pursuing loot and food is really neither here nor there.

Top Left: Neil studies the display board by the monument
Top Right: Finger post pointing along drove loan l-r, and behind camera towards Charlie’s stone
Bottom: a change from the the usual… following three rumps, not one.

This next part of John Muir uses a hugely significant route, the old cattle drove road to the original Falkirk Tryst on the Braes above Redding. The drove road (less of a road rather a broad “ride” which allowed for the nature of the beasts that were driven) generally follows the old Roman route from Stirling. The Romans referred to it as Antoninus Way or A-IX for short. Ok, I lied about that one. The old route then heads south past Torwood Castle to ford the Carron and strike the ridge way that runs west to east south of Falkirk. The Antonine Wall runs east-west here, and a singular feature of the Antonine Wall is the road behind it which ran the length of the wall and enabled the swift movement of troops along the wall. The junction of the Roman Road north and the Wall is at Watling Lodge close to the canal to the north.
We walked on. Leaving the monument means that you walk beside the road which can be a little bit busy although this is one of the stretches of the JMW that has a constructed path (this one is separated by a fairly hafty hedge) which is dead handy. Falkirk welcomes walkers. Yay. Actually, very “yay”. Falkirk has a core path plan which is accessible on the web and which identifies the key paths in and around the Council Area. No mean feat. Worth a button.
The JMW uses the drove road through part of the Callendar Estate which now boasts, in addition to our friend John Muir, cycle tracks, a rather nice retaurant, nature walks etc. Hire a bike? Information boards abound. We follow the purple discs through pine woodland and, later, some deciduous trees. The area is not natural woodland, and bears more scars of the mining that took place in the area. There is indeed a sink hole just off the path, The route leads to the new canal cut which reconnects the Forth and Clyde canal with the Union Canal by way of the Falkirk Wheel. The canal is bridged shortly after (or before) the lock and tunnel created to complete the junction. The tunnel, not strctly on the JMW, passes beneath the canal. The JMW heads off to the Wheel using the road cut through by industry years ago. You see it as you follow the path through woodland. The Wheel itself is interesting to a degree, very much the half hour haunt of tourists doing the sights. Tea and toilets are available. A few find the wall; most don’t. We had no excuse not to, so we took the path up to Roughcastle, passing through trees and scrubland which conceal the industrial landscape that once was.
We hit Rough Castle, a World Heritage Site. Roughcastle was the second site for the Falkirk Tryst, phase 2 of the great Falkirk Tryst project before it fetched up on Stenhousmuir just to the east of the Roman road (and latterly close to Larbert Junction on the Caledonian Railway).
The Roughcastle Fort was one of 20 or so forts along the 63 k Wallwhich ran from Old Kirkpatrick in the west to Bo’ness in the east. It was for a while the frontier of the Roman Empire though the arm and armies of Rome stretched further north, stretching along the coast as far as the Moray Firth.
But Rough Castle is much more than a place in history. It is a beautiful place, a good place to walk through, a place to look from and over. To the north on a clear, cold winter day the hills can be seen: the Ochils running east and west just across the Forth, a statement of intent. This is a a taste of the hills, a threat of a different land. North-east, on the same cold clear day, the first Munros. Vorlich and Stuc a’ Chroin. To the left, its position at the gates to the highlands, by Lubnaig, the crooked loch. And further west, on the right day. Lomond, an iconic moutain and special song.
It is a place where time is evident, like the hills that lose their greening showing the rocks that remain. We see beneath the surface, revealed. And in this place, we sense the history, the history of the land and the history of the people who have passed here, leaving something of them. A gift if we choose to see it. On the frontier at the end of the world.
We walk out of the site and follow the (possibly) Roman road west toward Bonnybridge. The current road crosses the wall and then the railway, or a railway. This line is the old Caledonian Railway coming down through Stirling and Larbert aznd joining with the original Edinburgh and Glasgow Railway Company, and subsequently North British, line at Greenhill Junction. With the arrival of the “Big Four” in 1923 the activities of the railway companies became simpler but did not do away with the two railway lines, one to the north of the Roughcastle site, and one to the south. Larbert was the station that the train involved in the Quintinshill railway disater came to grief. There is a memorial plaque at the station.
The JMW follows the road down towards the canal, passing run down industrial units which remind us of the local traditions of heavy industry such as the Smith and Wellstood Foundry. There is no coincidence that this industrial township is co-located with both railway and canal. The pathway passes under the canal through what is called the Radical Pend, which relates to an “incident” in 1820 when radicals from the area encountered a force of Hussars and Yeomanry Cavalry and violence ensued.

Top: Mo and the rusty stream
Middle: The Radical Pend
Bottom: Walking under the Canal
Arriving in the radical metropolis of Bonnybridge, the party split. Neil and I continued the walk along the Canal toward Croy, and Mo and Carol headed off to Croy itself to park and walk back towards the pensioners. The usual chosen method of transport, buses, was compromised because Mo is a mere youngster and as yet has not received her bus-pass, so car shuffles were the order of the day.
So it was back to Jack and Victor, or Stan and Ollie, even Batman and Robin but certainly not Burke and Hare.
Having walked under the canal, we took the towpath which is on the north side. It being the weekend there was plenty of traffic of the dog-walking, cycling and a little light exercise types. The ways of the way are well-known, and cyclists habitually ring the bells or hail the unwary walker. The walk is pretty straight so you can see them coming some way off. It is helped by the long sight lines which is unsurprising as the canal builders used the line of the Antonine Wall and as we all know, Romans built straight. The canal runs parallel to the Antonine Wall and one of the notable sites is Seabegs Wood on the wrong side of the canal. It is easily accessible from the road, or from the towpath if you are prepared for a cold dip in the somewhat murky canal. We thought not. We continued toward one of the old canal equivalents of a motorway services which unfortunately was largely destroyed by fire a while back.

Underwood Lockhouse: the view east, and the now derelict building
The walk by the canal is well-screened and pleasant and heads toward Croy via the M80 underpass. The Millenium made a huge difference to the Forth and Clyde and the underpass beneath the M80 was part of the re-instating of the Forth and Clyde and Union Canals, and creating the Falkirk Wheel was creating a centre piece. Between 1999 and 2017 I was living in Suffolk, but visiting family on a regular basis, maybe two or three times a year. The build was obvious as a road, but the walk under was something new, and very much I felt that we had hit a watershed and that we were in the west, a different country.
Walking out from the underpass the path follows the canal, and the canal sits in a wood-lined valley which feels secluded. Ahead lies Wyndford Lock, around a corner and looking good. Its proximity to the duty free warehouse at Bankier to the east suggests a relationship between canal and warehouse. Not to mention a tramway linking Banknock Sation with the warehouses. Call me Sherlock if you like.


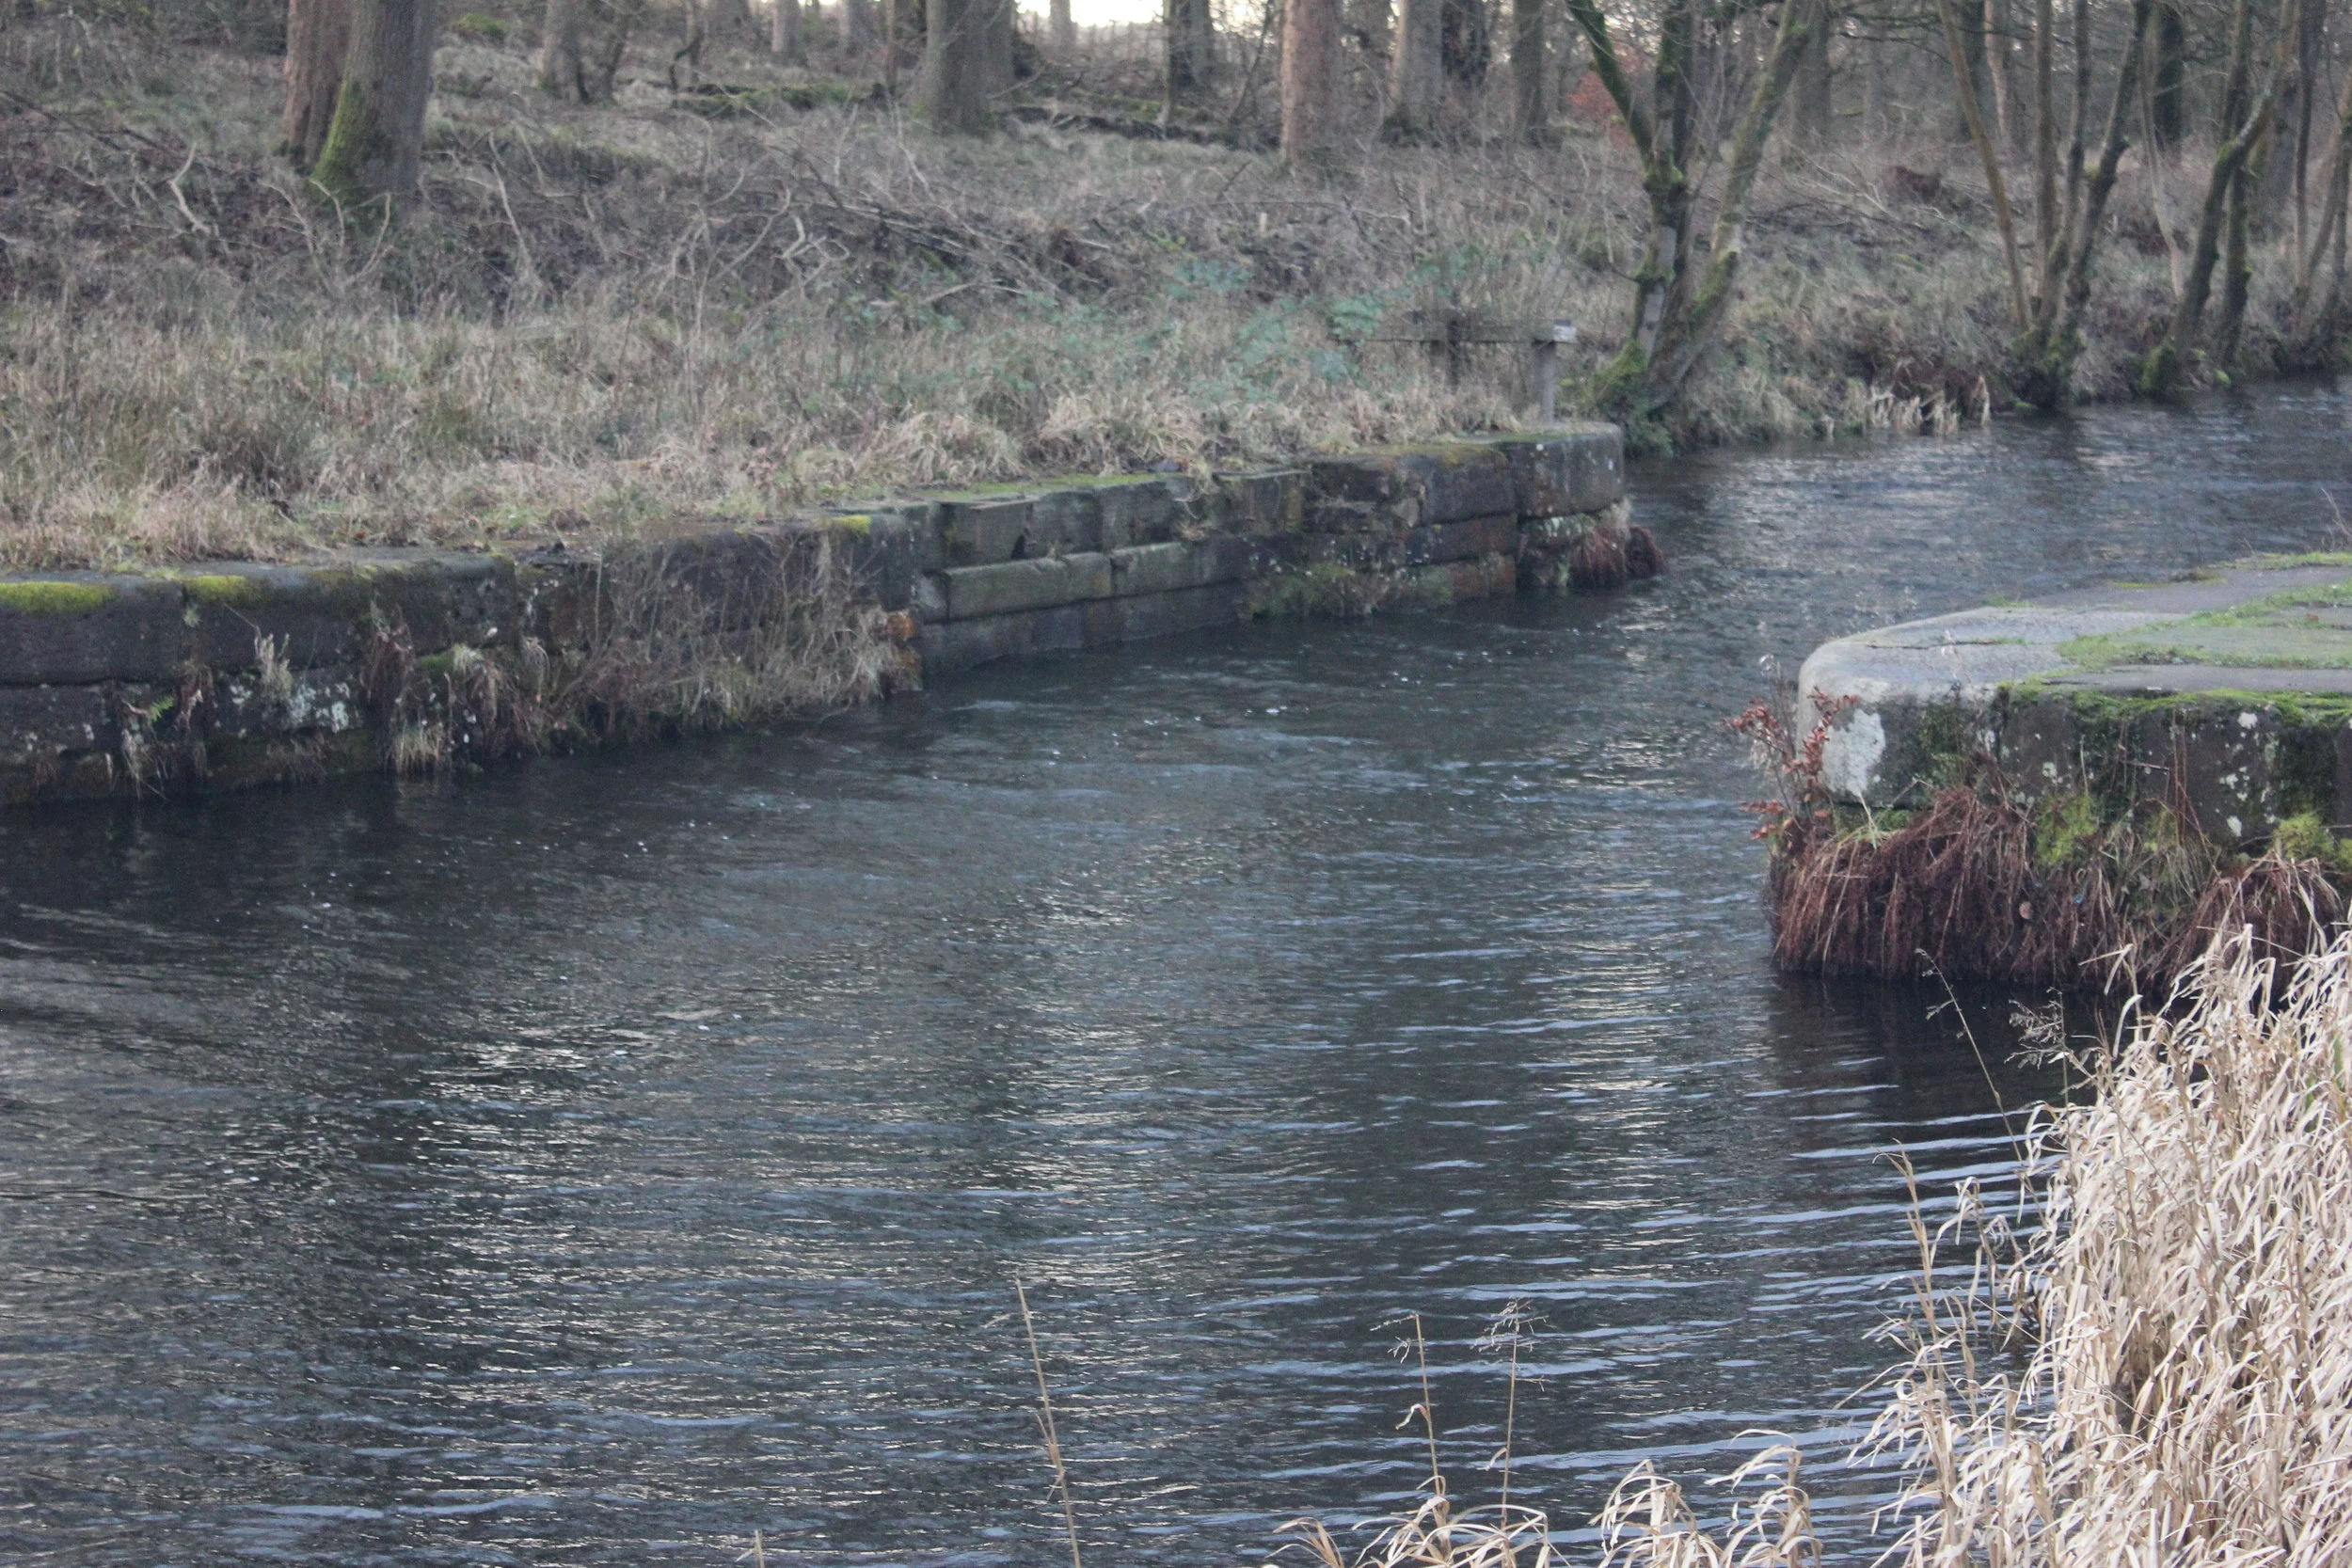
Wyndford Lock - Click to see photos
Walking through, the view opens up and presents mysteries. One of the mysteries is not the canal being used as a place to dump unwanted wood, beds, rubbish and innumerable traffic cones: fancy a traffic cone to decorate your garden or your living room? Look no further than the Forth and Clyde…. I’m jumping ahead.
The photographs show views of the lock looking west, and point to a couple of mysteries.
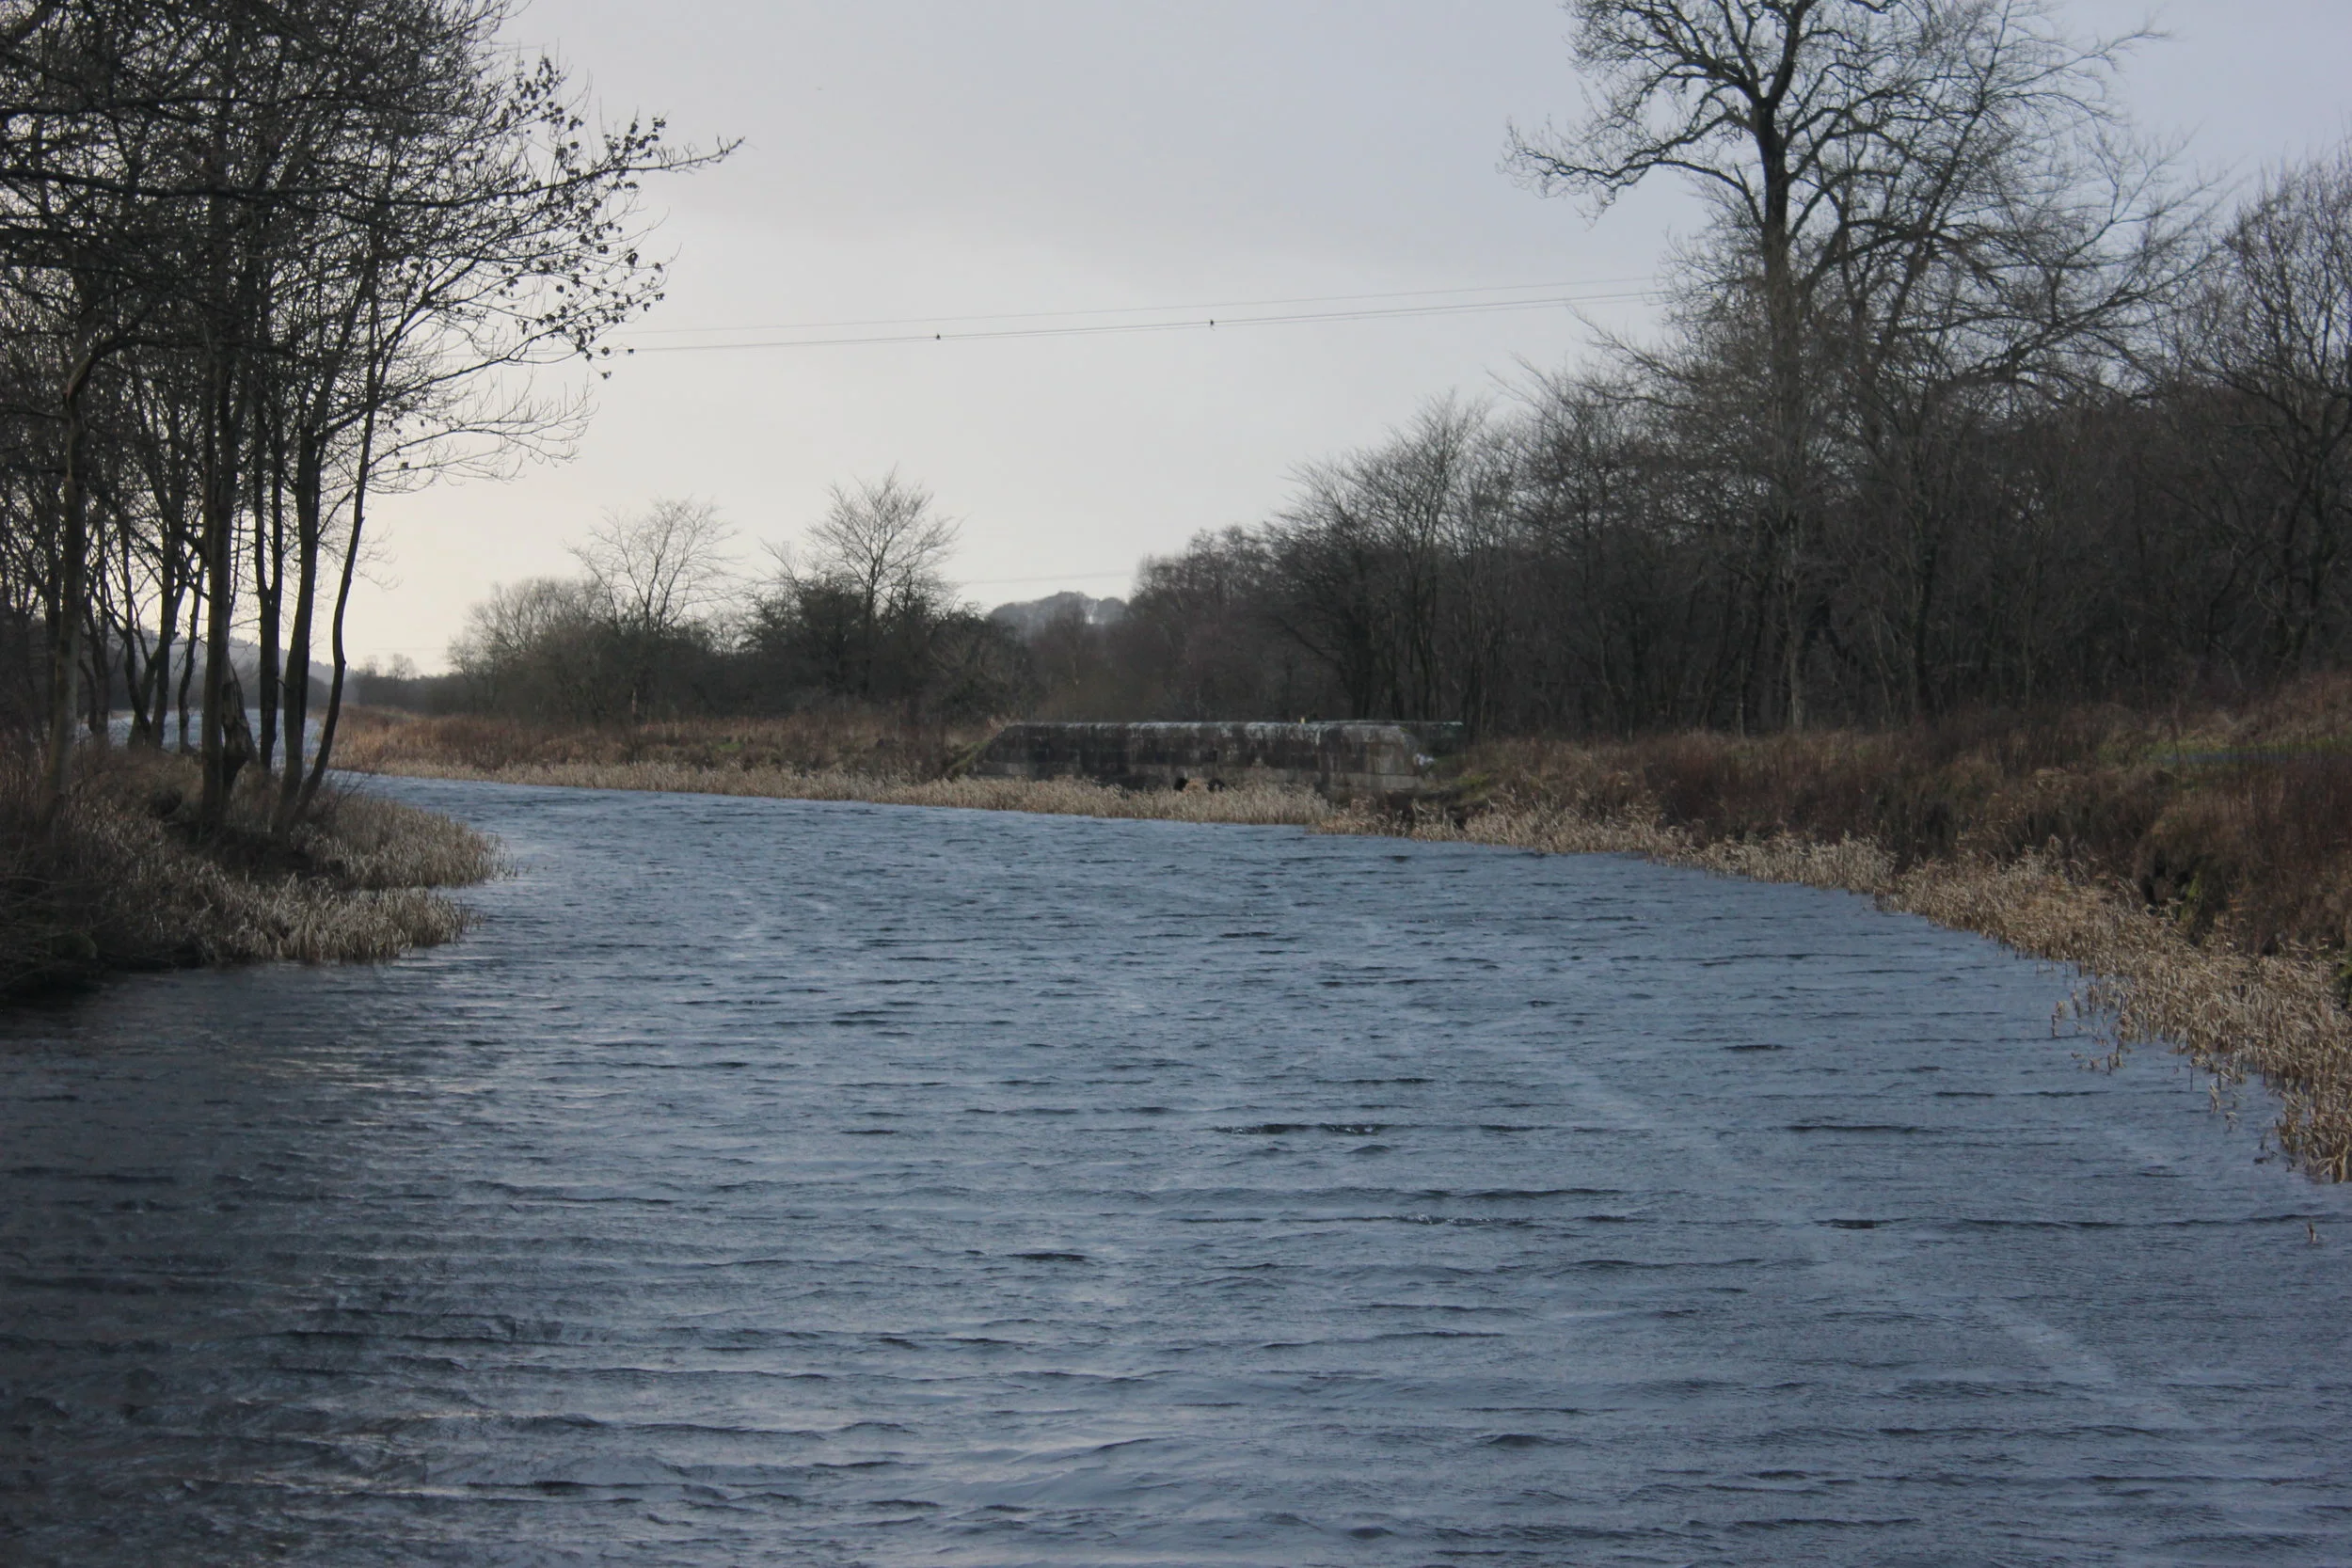
Mystery one was blocks either side of the canal that appear not to be to do with locks but were not a bridge. The old OS map shows these blocks to be lined up to stables. Like the Underwood Lockhouse, stables were a necessity when the chief source of motive power was the horse. It didn’t explain the blocks. A bit further on we came to a large sluice, a little tired but nevertheless a sluice: from here the whole scene changed. From walking through quite closed country, Neil and I were at risk of agrophobia: the canal was more of a lake than a canal; we saw strange inlets. We could see ahead, maybe 3 kilometers. We couldn’t fathom it, but the info boards helped. The Dullatur Bog stretch was problematic anyhow, and their were also concerns during the second world war about canals being bombed and creating floods.
As the boards point out, taking the direct route across the Dullatur Bog created significant engineering problems. 150 years previously, after the Battle of Kilsyth, it had presented a very lethal problem:
“Approximately three-quarters of the Covenanter troops perished. Baillie himself fled south with an escort of cavalry, but was caught in the notorious Dullatur Bog, a marshy area lying between the head waters of the Kelvin and the Bonny. He managed to escape, although he left most of his escort behind, and reached safety at Stirling Castle. During construction of the Forth and Clyde Canal the bodies of several troopers, one still seated on a horse, were recovered from the bog.” (Wikipedia: see Battle of Kilsyth above).
It had been a dreich day, but as usual rain had not been an issue. The long, straight walk continued with the usual sense of “will this never end?”. Carol and Mo had taken the car up to Auchenstarry and walked back to meet us, catching us towards the end of the long drag, just before the JMW takes a dive over to the Antonine Wall. A brief reconciliation, and the final pick up was confirmed on the road south from Auchinstarry. Great name. But first we needed to climb the hill (Kings Seat) and tackle the cattle which graze there. Of course we had the dangerous cattle discussion, as you do…
As it turned out the coos were pretty impassive, disinterested in us as walkers so we were able to pass by unmolested. The Antonine Wall stretch between the end of the Dullatur Bog and Auchenstarry is built on rocks like the images of Hadrians Wall and its escarpments although the wall itself here was built of turves. It is classic Roman up and down. The key feature is Croy Hill which has clear views across to the Campsies and is the site of a Roman fortlet and a signal post. The fortlet nestles down in a wee dell, with the watch post set higher up with the key views and the complete exposure to the elements.
View from signal station down to fortlet: trees mark perimeter.
The JMW follows the path down towards the north end of Croy, which is where the faithful Carol waited to pick us up. And so back home.
The stretch between Falkirk High and Croy is some 20.5 kilometers, not the longest on the John Muir, although on a pretty gloomy day the long stretch of the Dullatur Bog was really quite wearisome. It also seemed strangely remote, despite the nearness of a road to the north and a railway line to the south. Pity the poor Legionaries (actually auxilliaries) on the wall itself……